- Published on
Connect to Laravel Forge Database via Sequel Pro
- Author
-

- Name
- Kevin McKee
- @iAmKevinMcKee
Many Laravel developers choose to use Laravel Forge to provision and manage servers. It’s truly an amazing product and well worth the price.
Once you have provisioned a server and want to connect to a database on that server, it’s pretty simple to connect via Sequel Pro. Here’s how.
Ensure Your SSH Key is Added to the Server
In order to connect to your Forge server, you will need to connect from a device with an Active SSH Key on the server. If you know your device can connect to the server, feel free to skip to the next section.
To check, go to your Forge account, click on the server you want, then go to SSH Keys (Red arrow). Look at the active keys (green arrow) and make sure your device is listed there.

If you aren’t sure, you can test by opening a terminal and connecting via ssh to the public IP address of your server (purple arrow in the image above).
ssh forge@[IP Address]
If you can connect, great. If not then you’ll need to add your SSH key to your Forge server.
If you are on a Mac, you may be able to run the following command to copy your ssh key off your machine and paste it in the "Public Key" section on Forge.
pbcopy < ~/.ssh/id_rsa.pub
Connect to Forge Database with Sequel Pro
Now that you know you can connect via SSH, it’s time to get Sequel Pro connected.
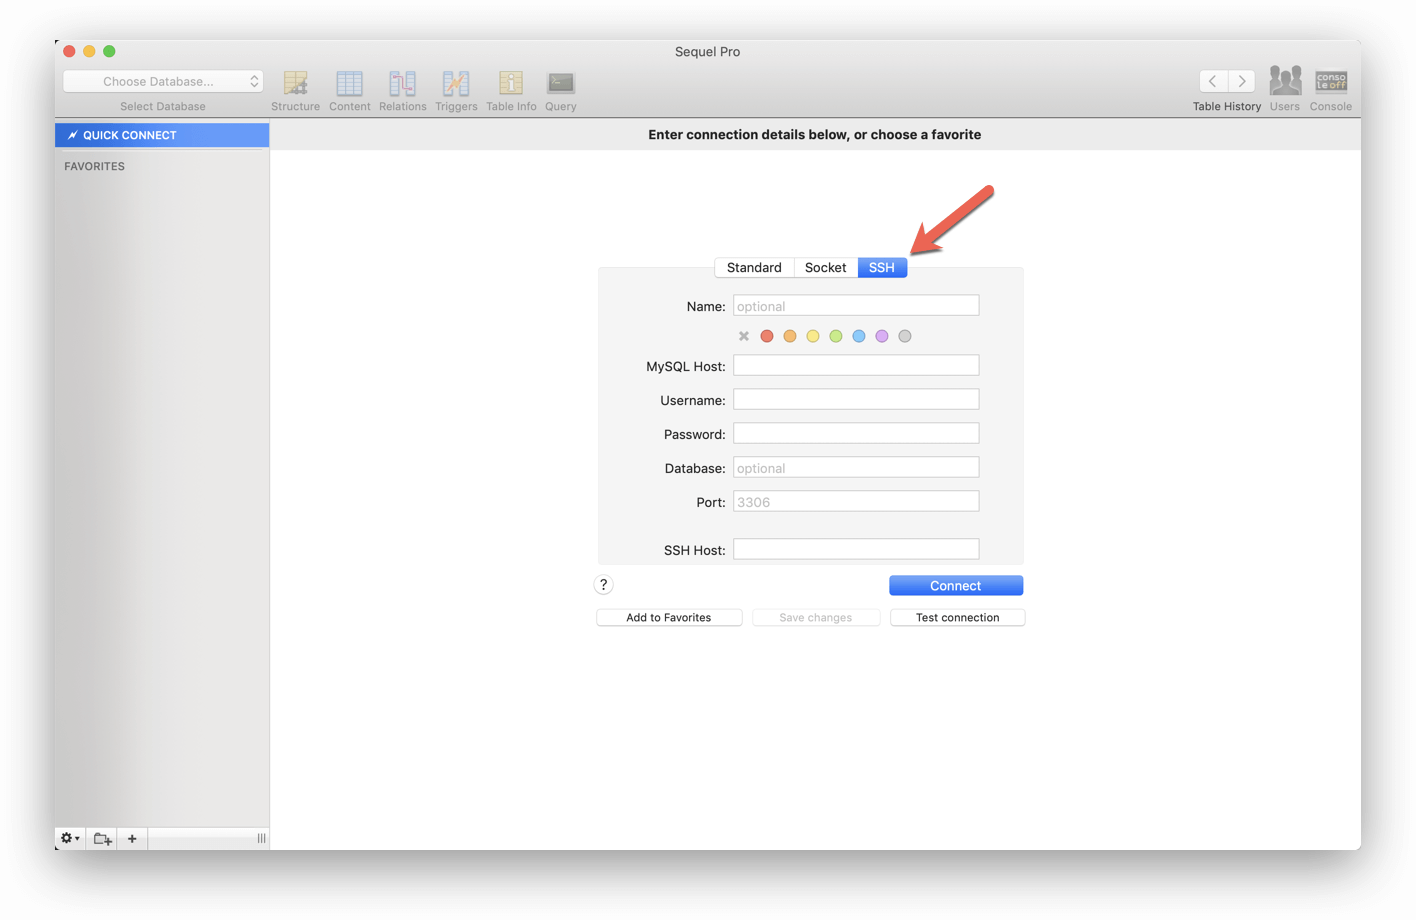
Open up Sequel Pro and add a new Connection. When you do this, it will most likely default to a “Standard” connection.
We want to change this to “SSH”, so click that tab and you’ll see something like this:
Unfortunately, I don’t see all the fields I want right now, so I switch back to Standard, then switch back to SSH and it shows me the extra fields I’m looking for:
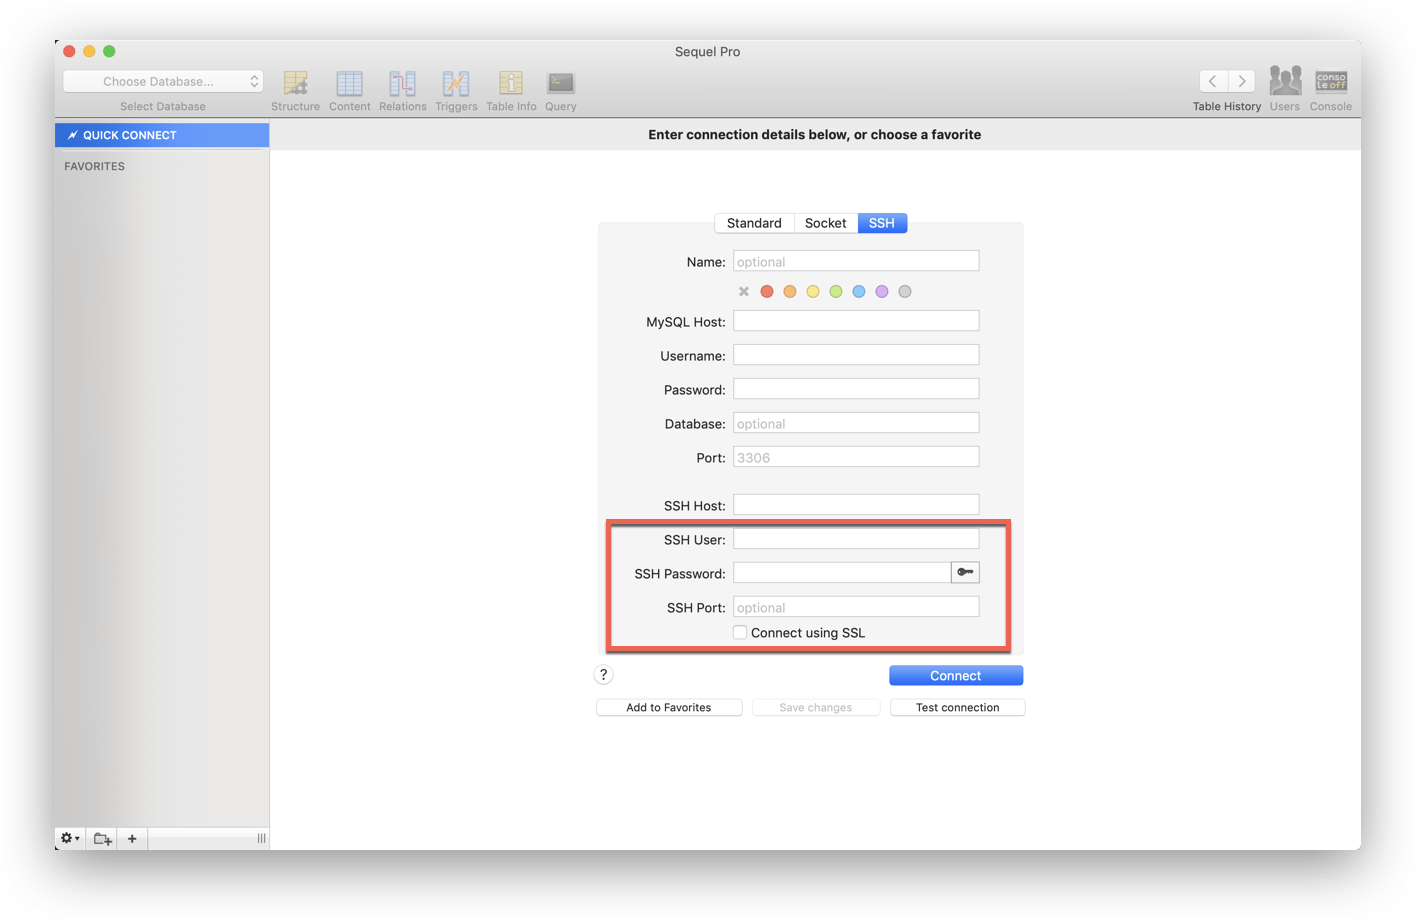
I need those extra 3 fields
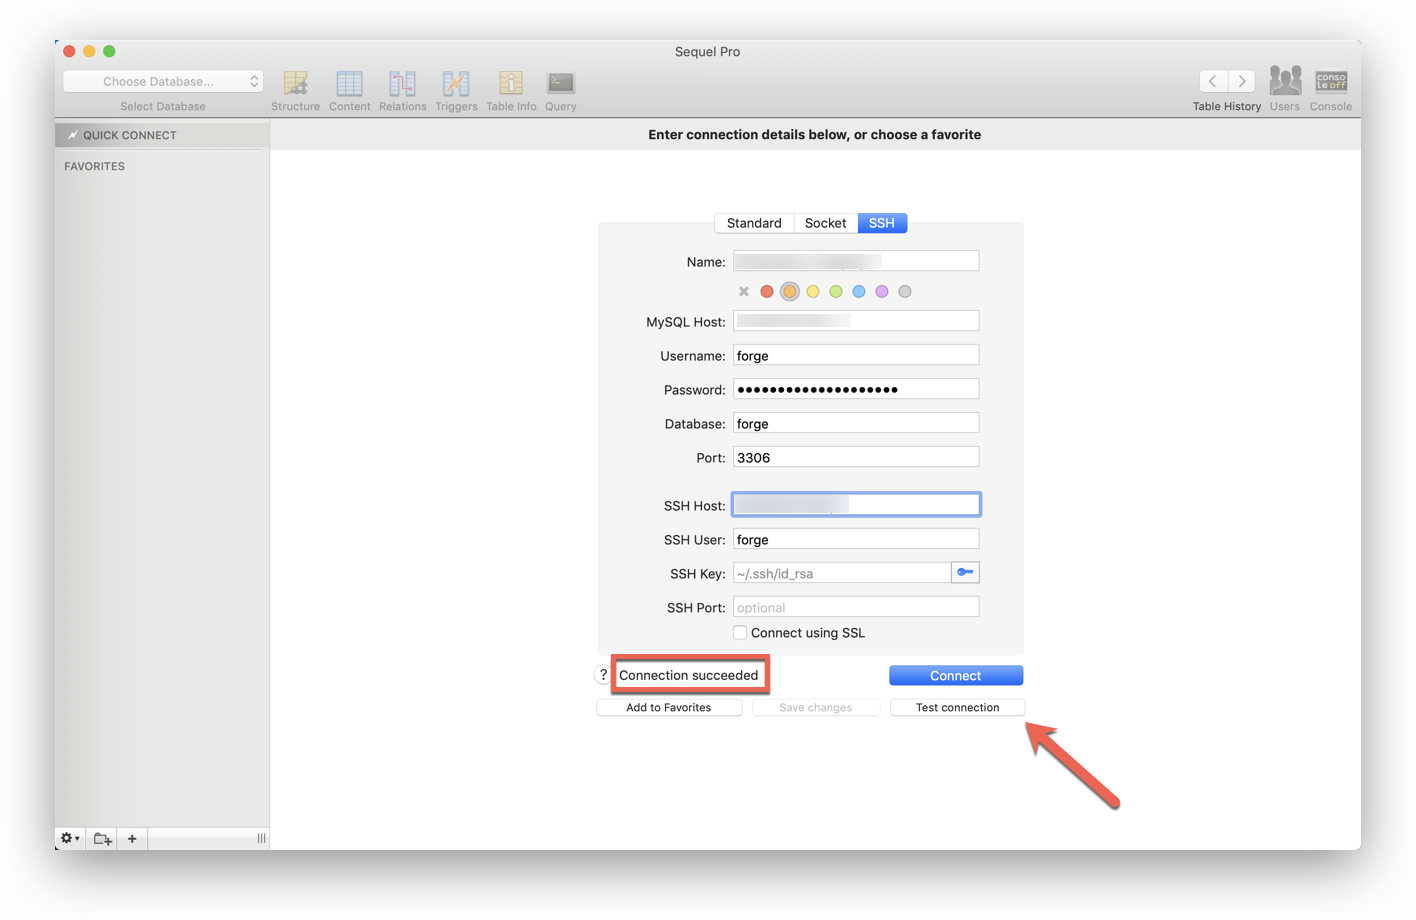
Now that we have all the fields we want, just fill out the necessary information. The following should help if you are using the defaults setup by Forge when the server was provisioned.
If you aren’t using the defaults, a good place to look for some of this information is the .env file on your Forge server.
- Name: Whatever you like
- Color: I like to use Red for Production servers, Orange for Staging, Yellow for Test, and Blue for Local. The colors are very helpful to remember what environment you are in.
- Username: forge (or whatever else is in your .env file)
- Password: This is the DB Password that was emailed to you when you created the server. If you aren’t sure where this is, check your .env file
- Database: forge (or whatever else is in your .env file)
- Port: 3306
- SSH Host: Your Public IP Address for the server
- SSH User: forge
- SSH Password: your .ssh private key. Mine is ~/.ssh/id_rsa
- SSH Port: leave blank
Once you’ve entered all that information, you should test the connection and make sure it works.
At this point I like to add the connection to my favorites so I never have to go through this process again. Click “Add to Favorites” and then “Connect”.
That’s it. Enjoy managing your Laravel Forge database with Sequel Pro.
Want to talk about this post? Connect with me on Twitter →