- Published on
Getting Started with Laravel Development on a Mac
- Author
-

- Name
- Kevin McKee
- @iAmKevinMcKee
If you are just getting started with Laravel development, or you've just purchased a new Mac, this post is for you. You're about to see (in excruciating detail) how I setup my local development environment.
There are a lot of steps here, so I will break this out into a multiple part series. Ultimately my goal is to get Laravel Valet installed, open it with PHPStorm, and clone an existing project from BitBucket onto my machine.
This is not just about getting Laravel installed serving a brand new site. If that's your goal, I suggest you watch Laravel 5.7 From Scratch - Initial Setup Requirements and you'll have something up and running in less than 10 minutes.
If you follow along with me, you should be able to setup your complete Laravel local development environment within about an hour.
Upgrade my Terminal with iTerm2 and Oh My Zsh
We are going to be working on the command line all the time, and while the Mac Terminal is fine, I prefer using iTerm2 and customizing it with Oh My Zsh.
If you are brand new to development, the command line might be really scary. I promise, it isn't. Just follow along step by step and you will be just fine!
Download iTerm2
This one's pretty easy. Go to https://www.iterm2.com/ and download the application, then install on your machine.
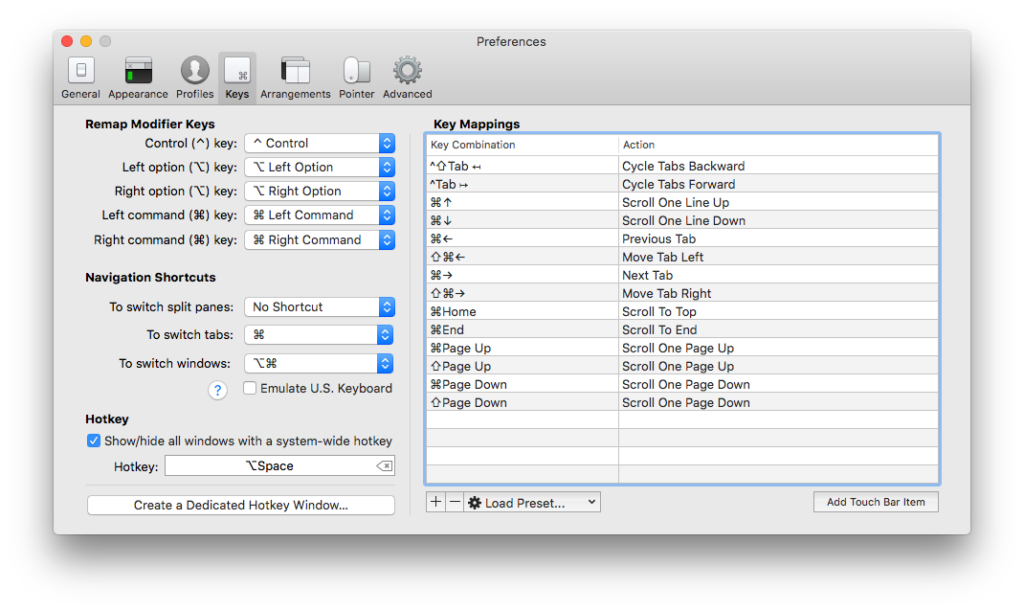
You will be in iTerm a lot, so it's a really good idea to create a system wide hotkey to switch to it. To do this, open iTerm and use the following keyboard shortcut -> Command(⌘) + comma(,)
This will open your preferences (and is the same command to open preferences in PHPStorm, so it's a good one to learn). It's important to start getting used to keyboard shortcuts because it makes your workflow so much faster!
Click "Keys" at the top, then you'll see an option for a Hotkey at the bottom-left of this screen. I like to use Option-Space (also, I use Command-Space for Alfred which replaces Spotlight on my machine). Feel free to use whatever you like.
Now you can switch to iTerm anytime by pressing your hotkey if it is already open.
Install Oh My Zsh
Now I want this to look a little nicer, so I install Oh My Zsh. Just go to https://ohmyz.sh/ and copy the command on their homepage.
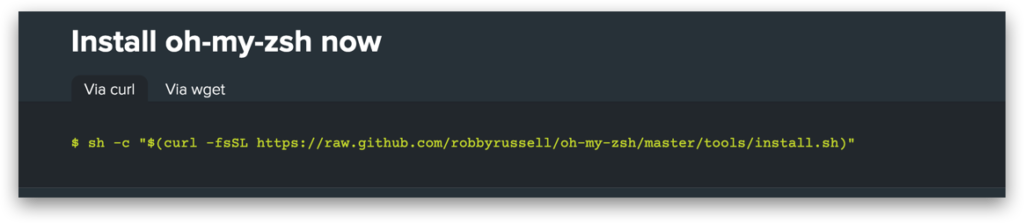
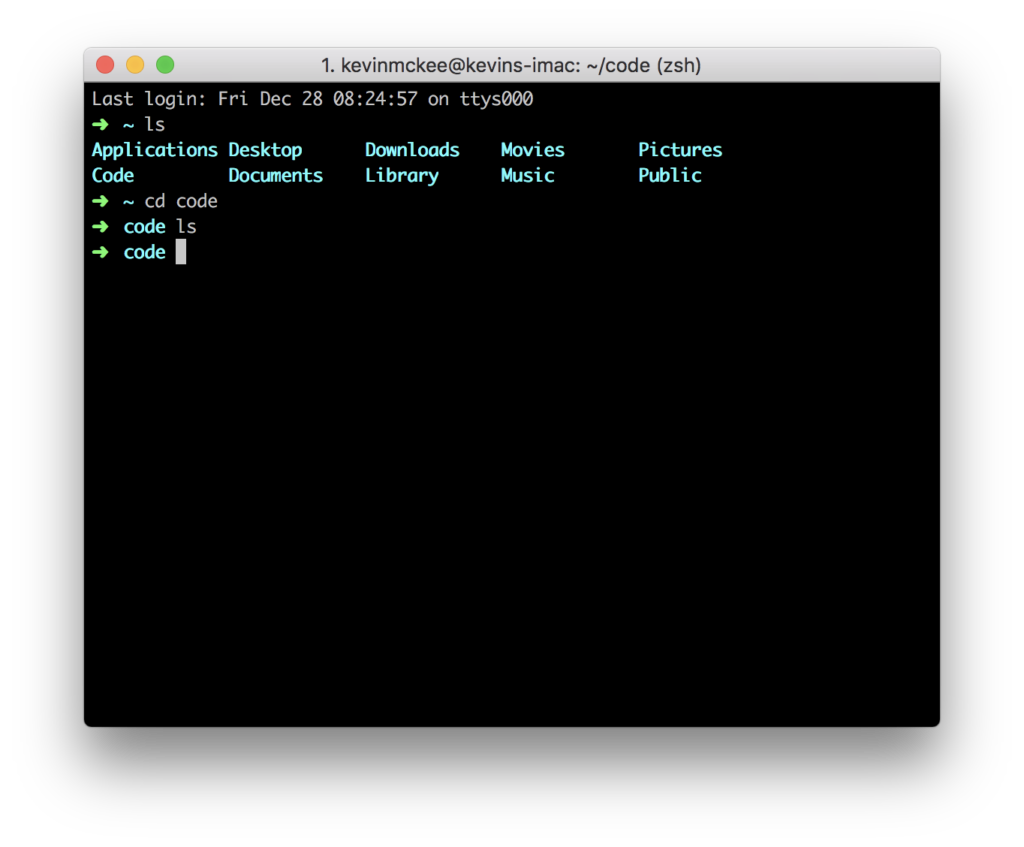
Open up iTerm2 and paste it in there, then hit enter. Now you should have a nice terminal that looks like this:
You can customize with themes, or simply make a few tweaks to your profile. Let's go over switching themes first.
Find a theme you like at https://github.com/robbyrussell/oh-my-zsh/wiki/themes and note the name.
Now go back to iTerm2 (remember you can do that with your shortcut Option+Spacebar) and type the following:
vi ~/.zshrc
This opens the Vim editor, and if you are brand new to this, don't worry. I will give you step by step instructions.
- Hit down on the arrow key until you get to the line that says ZSH_THEME="robbyrussell"
- Hit the "i" key on your keyboard (this tells Vim you want to insert something)
- Hit the right arrow key until your cursor is flashing on top of the "r" on "robbyrussell"
- Press fn + delete until you've deleted the word "robbyrussell" (on a standard Mac keyboard --- I have a Logitech keyboard and I can just use the delete key above the arrows without pressing fn)
- Type the name of the theme you like
- Press the Escape (esc) key
- Type the following
:wq!
- To explain the command you just typed, w is for write, q is for quit, and the exclamation point forces Vim to follow those commands (otherwise there may be a warning or something)
- Press enter
- Press Command + Q to quit iTerm2
- Reopen iTerm2
- See your beautiful new theme
I actually prefer the standard theme, so I'll switch back to robbyrussell following the same steps above.
However, I do like to make the font a little bigger and increase the vertical space, so let's do that really fast.
With iTerm2 open, press Command + comma to open preferences.
Go to the "Profile" section and click the "Text" option and then the "Change Font" button.
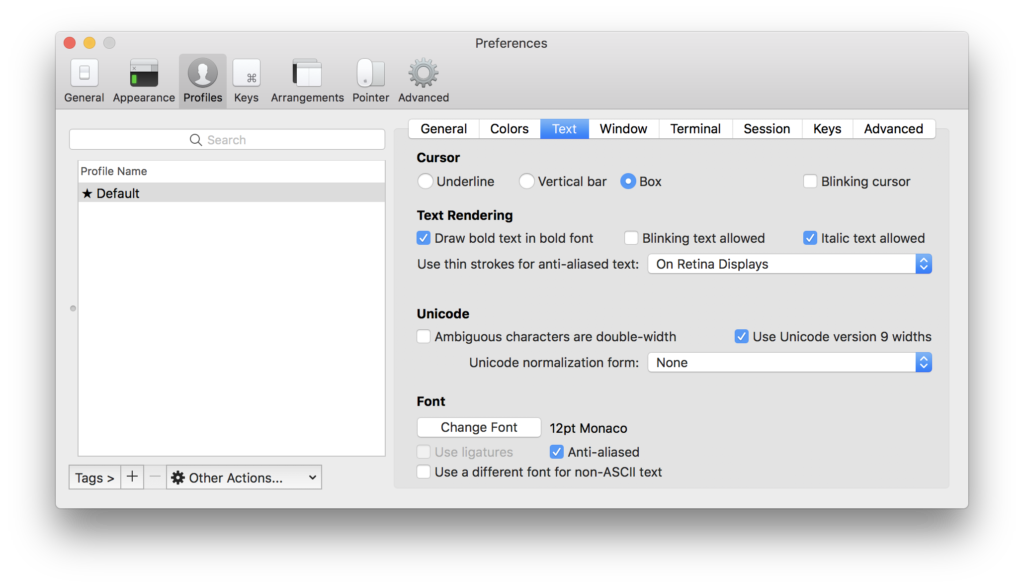
I changed the font to 18px and vertical spacing to 140%. Now my iTerm2 looks like this:
Install Homebrew
My Mac came preinstalled with PHP 7.1 but I want to run PHP 7.2. In fact, PHP 7.3 is currently available, but I'm waiting a few more months for the early adopters to work out all the bugs before we upgrade our client sites.
It's important that my local environment match the production environment of the client sites, and Laravel Valet needs PHP 7.2 anyways, so I'm going to upgrade.
To do this, I'm first going to install Homebrew, which we can use to easily install a lot of stuff we will eventually need.
Open your iTerm terminal and then go to the Homebrew website, https://brew.sh/ and copy the command on their homepage. Paste it and hit enter.
Easy peasy.
Switch PHP Versions
Now that Homebrew is installed, let's get PHP 7.2 and PHP 7.3. You may want to install PHP 7.1 via Brew as well. Go to iTerm and type the following, one at a time.
brew install php@7.1
brew install php@7.2
brew install php@7.3
Now we need a way to switch between these php versions. There is a lot of information on the web about this, but I've actually found it's pretty simple.
First, let's see what php version we are running by executing a command in iTerm.
php -v
I'm running 7.2, so if I wanted to switch to 7.3, first let's check and make sure PHP 7.3 is running.
brew services list
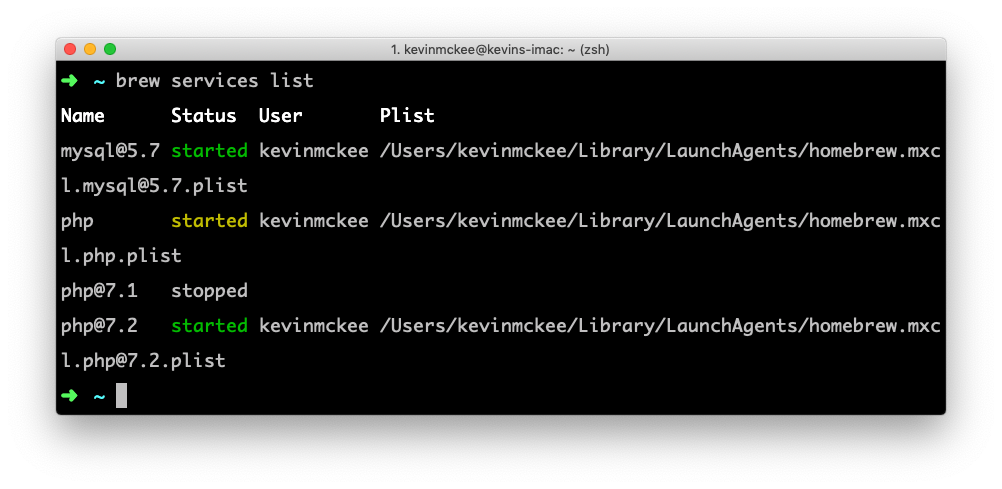
As you can see, I have php (which is the current version, php@7.3) and php@7.2 started. php@7.1 is stopped, and since I don't need it I will leave it stopped.
If you need to start any of these, you can type, for example:
brew services start php@7.2
Now let's switch to the current version of php
brew unlink php@7.2
brew link php
php -v
It's that easy. Now let's go back to 7.2 and the command changes just a bit.
brew unlink php
brew link php@7.2 --force
php -v
I had to add the --force flag to switch back to php@7.2. If you try without the --force flag, you'll get an error telling you to add it.
Install Composer
Now that we have Homebrew, installing composer is very easy. Go to your iTerm and make sure you are in the home directly and then ininstall composer
cd ~
brew install composer
If this was successful, you can type
composer --version
We will be using Composer all the time when doing Laravel development, so you'll learn more about it over time. It's really a wonderful tool.
Install MySQL
We will need a database to get Laravel up and running, and I prefer to use MySQL. We will continue to use Homebrew to install it. Open up that iTerm and type
brew install mysql@5.7
The current version of mysql is version 8, but that version doesn't play nicely with some of my apps so I use 5.7
We want this to launch and restart at login, so run the following command
brew services start mysql@5.7
You may also want the mysql command to work in the terminal (even though I almost exclusively interact with MySQL via Sequel Pro), so let's run this command
brew info mysql@5.7
If you read through the output of this command, you'll see the following line:
 Lets run that in the terminal
echo 'export PATH="/usr/local/opt/mysql@5.7/bin:$PATH"' >> ~/.zshrc
If everything worked, you should be able to see the MySQL version with the following command
mysql --version
Great, now you are ready to use MySQL with your Laravel Valet installation. I guess that means we are ready to get Valet.
Install Laravel Valet
Let's install valet globally using composer. Again, this is done in iTerm.
composer global require laravel/valet
Now let's run
valet install
If this doesn't work, you might need to edit your path. This is pretty easy, just run the following command in your terminal:
export PATH=$PATH:~/composer/vendor/bin
After running that, you should be able to run valet install.
As you can see, brew installed some dependencies for us and Valet is ready to go, but I do still need to do a bit more configuration.
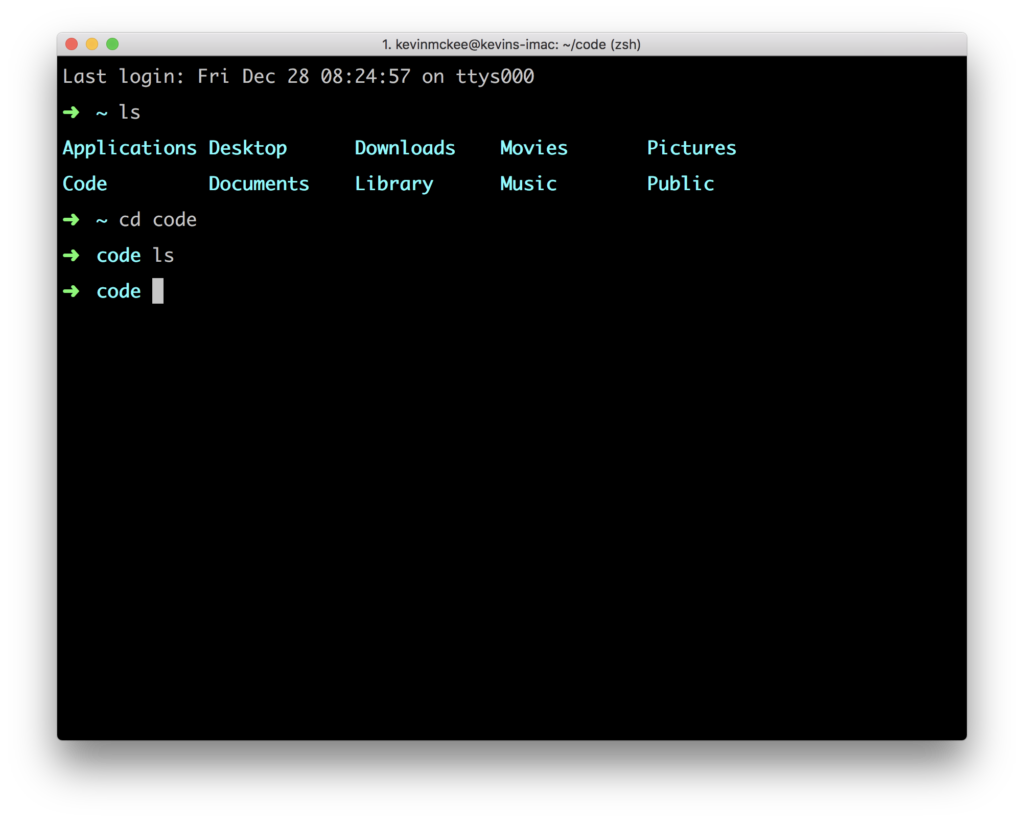
I like to store all my local development files in a folder named Code in my home directory. Back to iTerm and let's create that directory
cd ~
mkdir Code
ls
Now lets park that directory with the following commands
cd Code
valet park
Lastly, you may need to turn off Apache since Valet uses nginx. To do that, just run the following
sudo apachectl stop
valet restart
That's it. Now anytime you create a directory in your Code folder, you can instantly serve that site from foldername.test in your browser.
For example, let's install a brand new Laravel project and get it up and running on our local machine.
Create a New Laravel Project
Go back to your home directory and use Composer to install the Laravel installer globally.
cd ~
composer global require laravel/installer
Now let's create a new project. Go into your Code folder and create a new Laravel project
cd Code
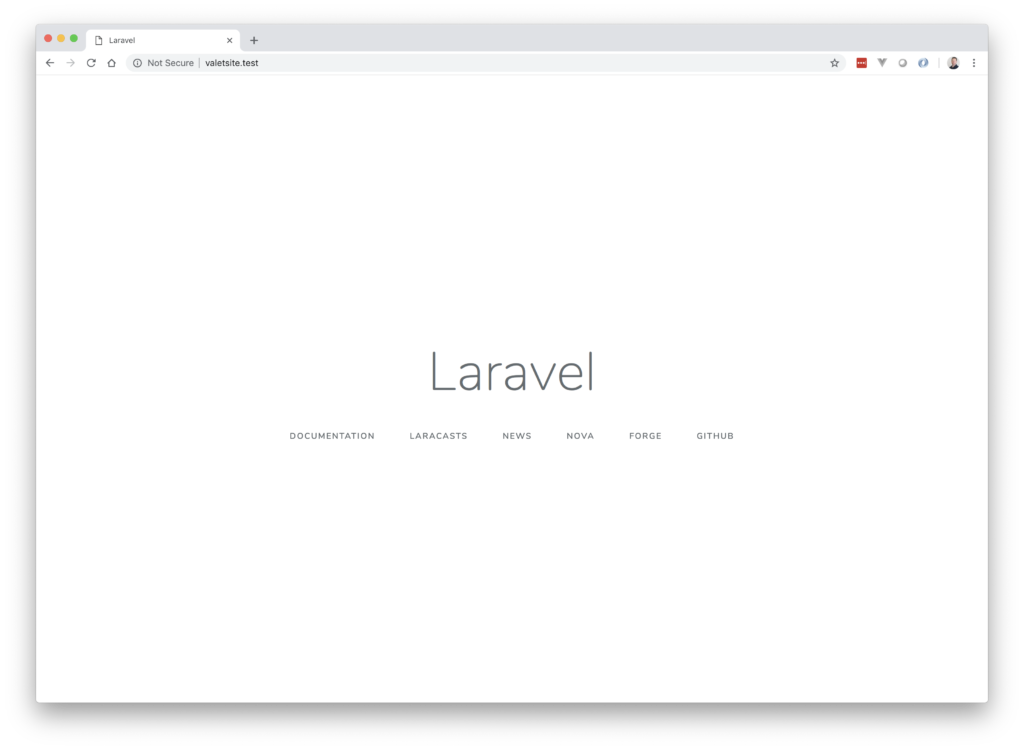
laravel new valetsite
This could take a while because there are a lot of dependencies to be downloaded. These will be cached in the future so it won't take as long to create a new project.
Once everything is done, go to your browser navigate to valetsite.test and you should see this:
Lastly, I always secure my sites with HTTPS in production, and I want my development environment to match production as closely as possible, so let's secure our dev environment.
cd ~/Code
valet secure valetsite
Now when we reload the page, we will get the https version, even in our local environment. Awesome!
Laravel is Working on Your Mac!
Wow! In just a few steps you have a working Laravel installation on your Mac. This is a great start!
There's still more work to do, so in the next article I will help you get tools like Sequel Pro, PHPStorm and configure them. Once this is done, you are truly ready to start doing Laravel development.
Want to talk about this post? Connect with me on Twitter →